Tips & Advice
Window Tint Bubbles: Will They Go Away? Complete Guide
Blackout Team· Window Tinting Experts
·Updated ·6 min read
See bubbles after window tinting? Learn which bubbles are normal, which indicate problems, and when to contact your installer.
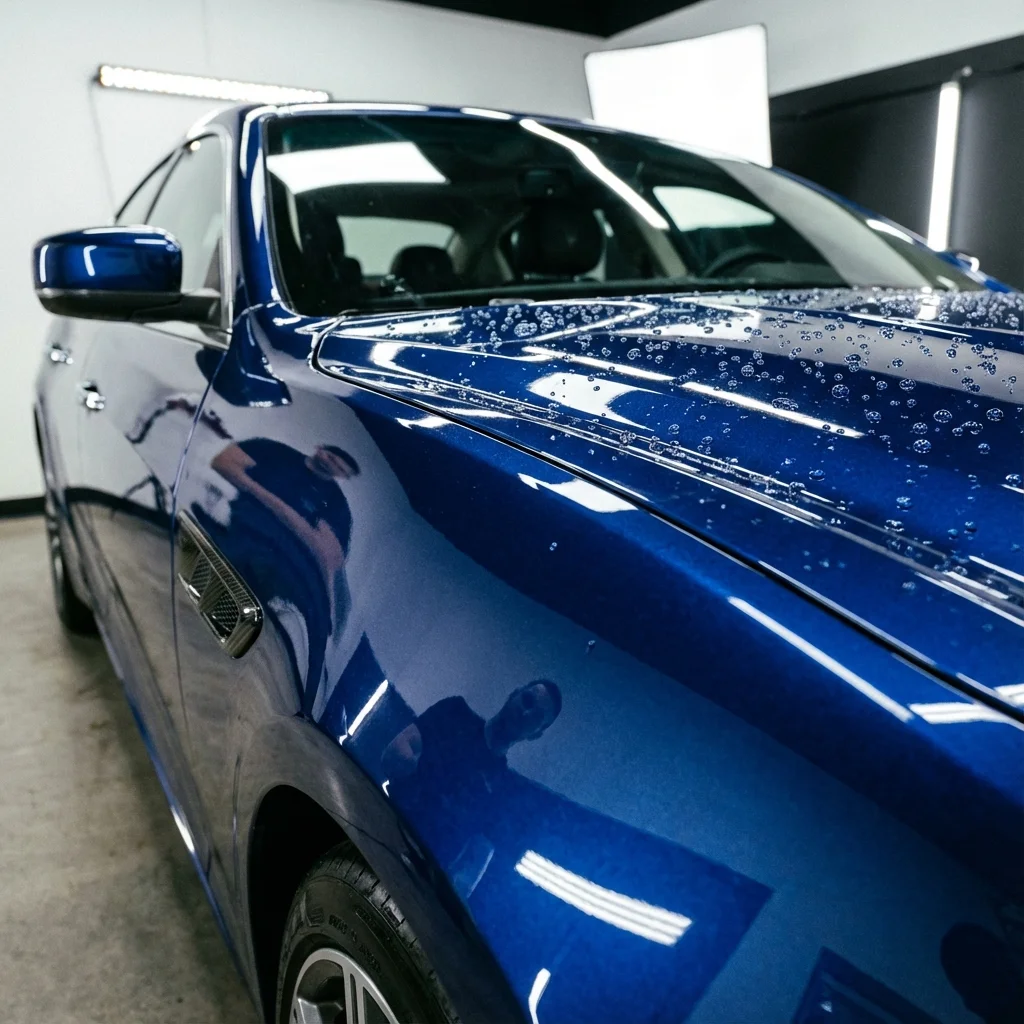
You just got your windows tinted. You walk out to your car and notice... bubbles.
Before you panic and call your installer, read this. Most bubbles are completely normal and will disappear on their own.
Normal Bubbles vs. Problem Bubbles
Normal: Water Bubbles (Will Disappear)
What they look like:
- Small, hazy spots
- Clustered in groups
- Look like trapped water (because they are)
- Slightly "milky" appearance
- Spread across the film
Why they happen: Window tint is applied using a water-based solution. Some moisture gets trapped between the film and glass during installation. This is unavoidable and expected.
What to do: Nothing. They'll evaporate through the film over 1-4 weeks depending on weather.
Problem: Air Bubbles (Need Attention)
What they look like:
- Large, single bubbles
- Clearly defined edges
- Usually near corners or edges
- Don't change over 2+ weeks
- Look like a trapped air pocket
Why they happen: These indicate contamination (dust, debris) or installation issues. Air can't evaporate through the film like water can.
What to do: Contact your installer. These won't go away and typically require repair or replacement.
The Bubble Timeline
Here's what to expect during the curing process:
| Timeframe | What You'll See |
|---|---|
| Day 1-3 | Maximum bubbles/haziness |
| Week 1 | Bubbles start shrinking |
| Week 2 | Most bubbles gone |
| Week 3-4 | Film should be clear |
During Summer
Curing is faster. Bubbles may clear in 1-2 weeks due to heat accelerating evaporation.
During Winter
Curing takes longer. Allow 4-6 weeks before judging the final result.
When to Contact Your Installer
Wait 2-4 weeks, then evaluate. Contact your installer if you see:
- Large air bubbles that haven't changed
- Purple/red tint appearing in the film (dye failure)
- Film peeling at edges
- Bubbles growing instead of shrinking
- Creases or folds in the film
- Gaps between film and window edges
Most professional shops warranty their work for at least a year. Ours is lifetime on labor.
What Causes Problem Bubbles?
Contamination
Dust, debris, or fibers trapped under the film create air pockets. This is why professional shops use clean rooms or controlled environments.
Poor Adhesion
Low-quality film or improper surface preparation prevents proper bonding. The film doesn't stick, allowing air underneath.
Old Film Removal Issues
If you had tint removed before new installation, leftover adhesive residue can cause problems.
Temperature Issues
Installation in very cold conditions can affect adhesion. Quality shops control their environment.
Can You Fix Bubbles Yourself?
Short answer: No.
We've seen DIY "fixes" that made things worse:
- Poking bubbles with needles (creates holes that tear)
- Using hair dryers (can melt or warp film)
- Peeling and re-sticking (destroys adhesive)
- Pressing with credit cards (scratches film)
Always contact your installer for fixing issues. Professional repair typically involves:
- Lifting the affected section
- Cleaning underneath
- Re-applying properly
- Or replacing the piece entirely
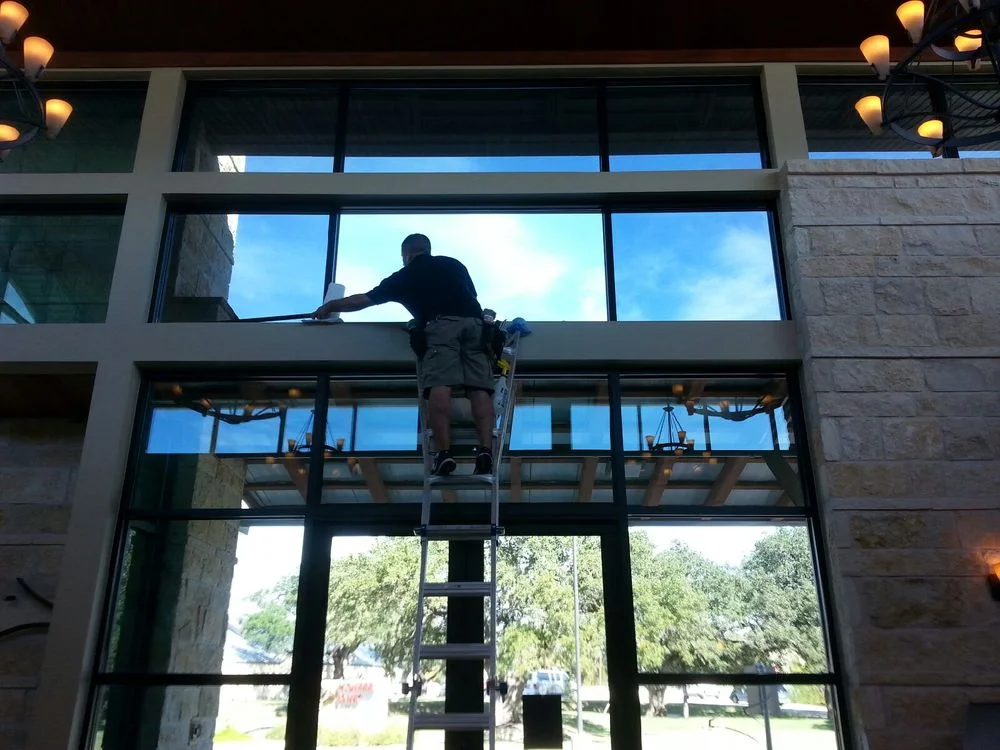
Preventing Bubble Problems
Choose Quality Installation
The biggest factor in bubble-free tint is professional installation:
- Clean, controlled environment
- Proper surface preparation
- Quality film materials
- Experienced technicians
- Warranty on work
Budget shops cutting corners often create bubble problems.
Follow Aftercare Instructions
After installation:
- Don't roll windows down for 3-5 days
- Don't clean the interior glass for a week
- Park in sunlight to accelerate curing
- Be patient with the curing process
Why Some Films Bubble More
| Film Type | Bubble Tendency |
|---|---|
| Cheap dyed films | Higher (lower quality adhesive) |
| Carbon film | Low |
| Ceramic film | Low |
| 3M Crystalline | Very low |
| LLumar IRX | Very low |
Premium films have better adhesives and more consistent quality control, resulting in fewer installation issues.
Bubbles on Rear Windows
Rear windows (especially with defrosters) are trickier to install. Slight haziness is more common but still temporary.
Note about defroster lines: The tint goes over the defroster. This doesn't affect defroster function, but the lines can create small visual imperfections that are difficult to avoid.
Our Bubble-Free Commitment
At Blackout Window Tinting, we:
✅ Use only premium 3M and LLumar films
✅ Install in a controlled environment
✅ Thoroughly clean every surface
✅ Warranty our work for life
If you ever have bubble issues with our work, we fix it—no charge.
📞 Call (408) 848-8468 with any concerns.
Visit the Experts in Gilroy
Blackout Window Tinting is the Bay Area's premier choice for premium auto protection. Based in Gilroy at 610 Holloway Rd (behind Target), we've served the South County and Silicon Valley area for over three decades. Whether you're coming from Morgan Hill, Hollister, or anywhere else in the Bay Area, we're your trusted local source for professional window tint, PPF, and ceramic coating.
📞 Questions? Call us at 408-848-8468 or get a free quote online.
Related Articles
- How Long After Tint Can I Roll Down Windows?
- What to Expect During Tint Install
- Ceramic vs Carbon Window Tint
Featured Brands
Learn more about the professional-grade products we use:
- 3M Crystalline - View product details and specifications
- LLumar - View product details and specifications
Ready to Get Started?
Get Expert Advice - Free consultations for all your vehicle protection needs. Get a free quote from Blackout Window Tinting.
📍 Visit our Gilroy shop or call (408) 848-8468
33+ years
The team at Blackout Window Tinting has been serving the Bay Area since 1993, providing premium window tinting and vehicle protection services.
Window TintingPPFCeramic CoatingVehicle Wraps