Local Services
UV Damage Prevention for Headlights
Blackout Team· Window Tinting Experts
·Updated ·8 min read

Learn why headlights yellow and cloud over time, and discover protective measures to prevent UV damage. From PPF to ceramic coatings, here's how to protect
Every vehicle owner in California faces the same problem: headlight degradation.
Those crystal-clear headlights that came with your car? Give them 3-5 years of Bay Area sun exposure, and they'll start turning yellow, hazy, and dull.
This isn't just cosmetic. Degraded headlights reduce light output by 20-50%, creating real safety hazards during night driving. And replacement headlights for modern vehicles often cost $500-2,000+ per side.
The good news? Proactive protection is far cheaper than restoration or replacement—if you understand what causes the damage and how to prevent it.
Why Headlights Yellow: The Science
Understanding the problem helps you solve it.
The UV Oxidation Process
Modern headlights are made from polycarbonate plastic—the same material used in bulletproof glass. It's lightweight, impact-resistant, and optically clear.
But polycarbonate has a weakness: UV radiation breaks down its molecular structure.
Here's what happens over time:
- UV exposure starts breaking polymer chains at the surface
- Oxidation (oxygen bonding to the damaged plastic) creates a cloudy layer
- Yellowing occurs as the degraded material discolors
- Crazing (microscopic cracks) develops, scattering light
- Deep damage eventually requires replacement, not just restoration
Why California Is Worse
The Bay Area accelerates this process:
- 300+ sunny days per year in inland areas
- High UV index especially in summer
- Temperature cycling (hot days, cool nights) stresses the plastic
- Reflective surfaces (parking lots, buildings) bounce additional UV onto headlights
A vehicle parked outdoors in Gilroy, Morgan Hill, or Hollister experiences more UV exposure than vehicles in many other parts of the country.
Factory Protection: Why It Fails
New vehicles come with a factory UV coating on their headlights. So why doesn't it last?
The Factory Coating Problem
Original equipment coatings are typically 10-20 microns thick—barely visible. They're designed to:
- Reduce manufacturing costs (thicker coatings = more expense)
- Last through the warranty period (3-5 years)
- Pass immediate quality checks
They're not designed for 10+ years of California sun.
Failure timeline:
- Year 1-2: Coating intact, headlights clear
- Year 3-4: Coating begins failing in spots
- Year 5-6: Significant yellowing, haziness developing
- Year 7+: Deep oxidation requiring restoration
The Catch-22
By the time headlight damage is visible, the factory coating has already failed. At that point, you're not protecting the lens—you're trying to restore it.
Prevention Options: Stop Damage Before It Starts
If your headlights are still clear (or recently restored), here are your protection options:
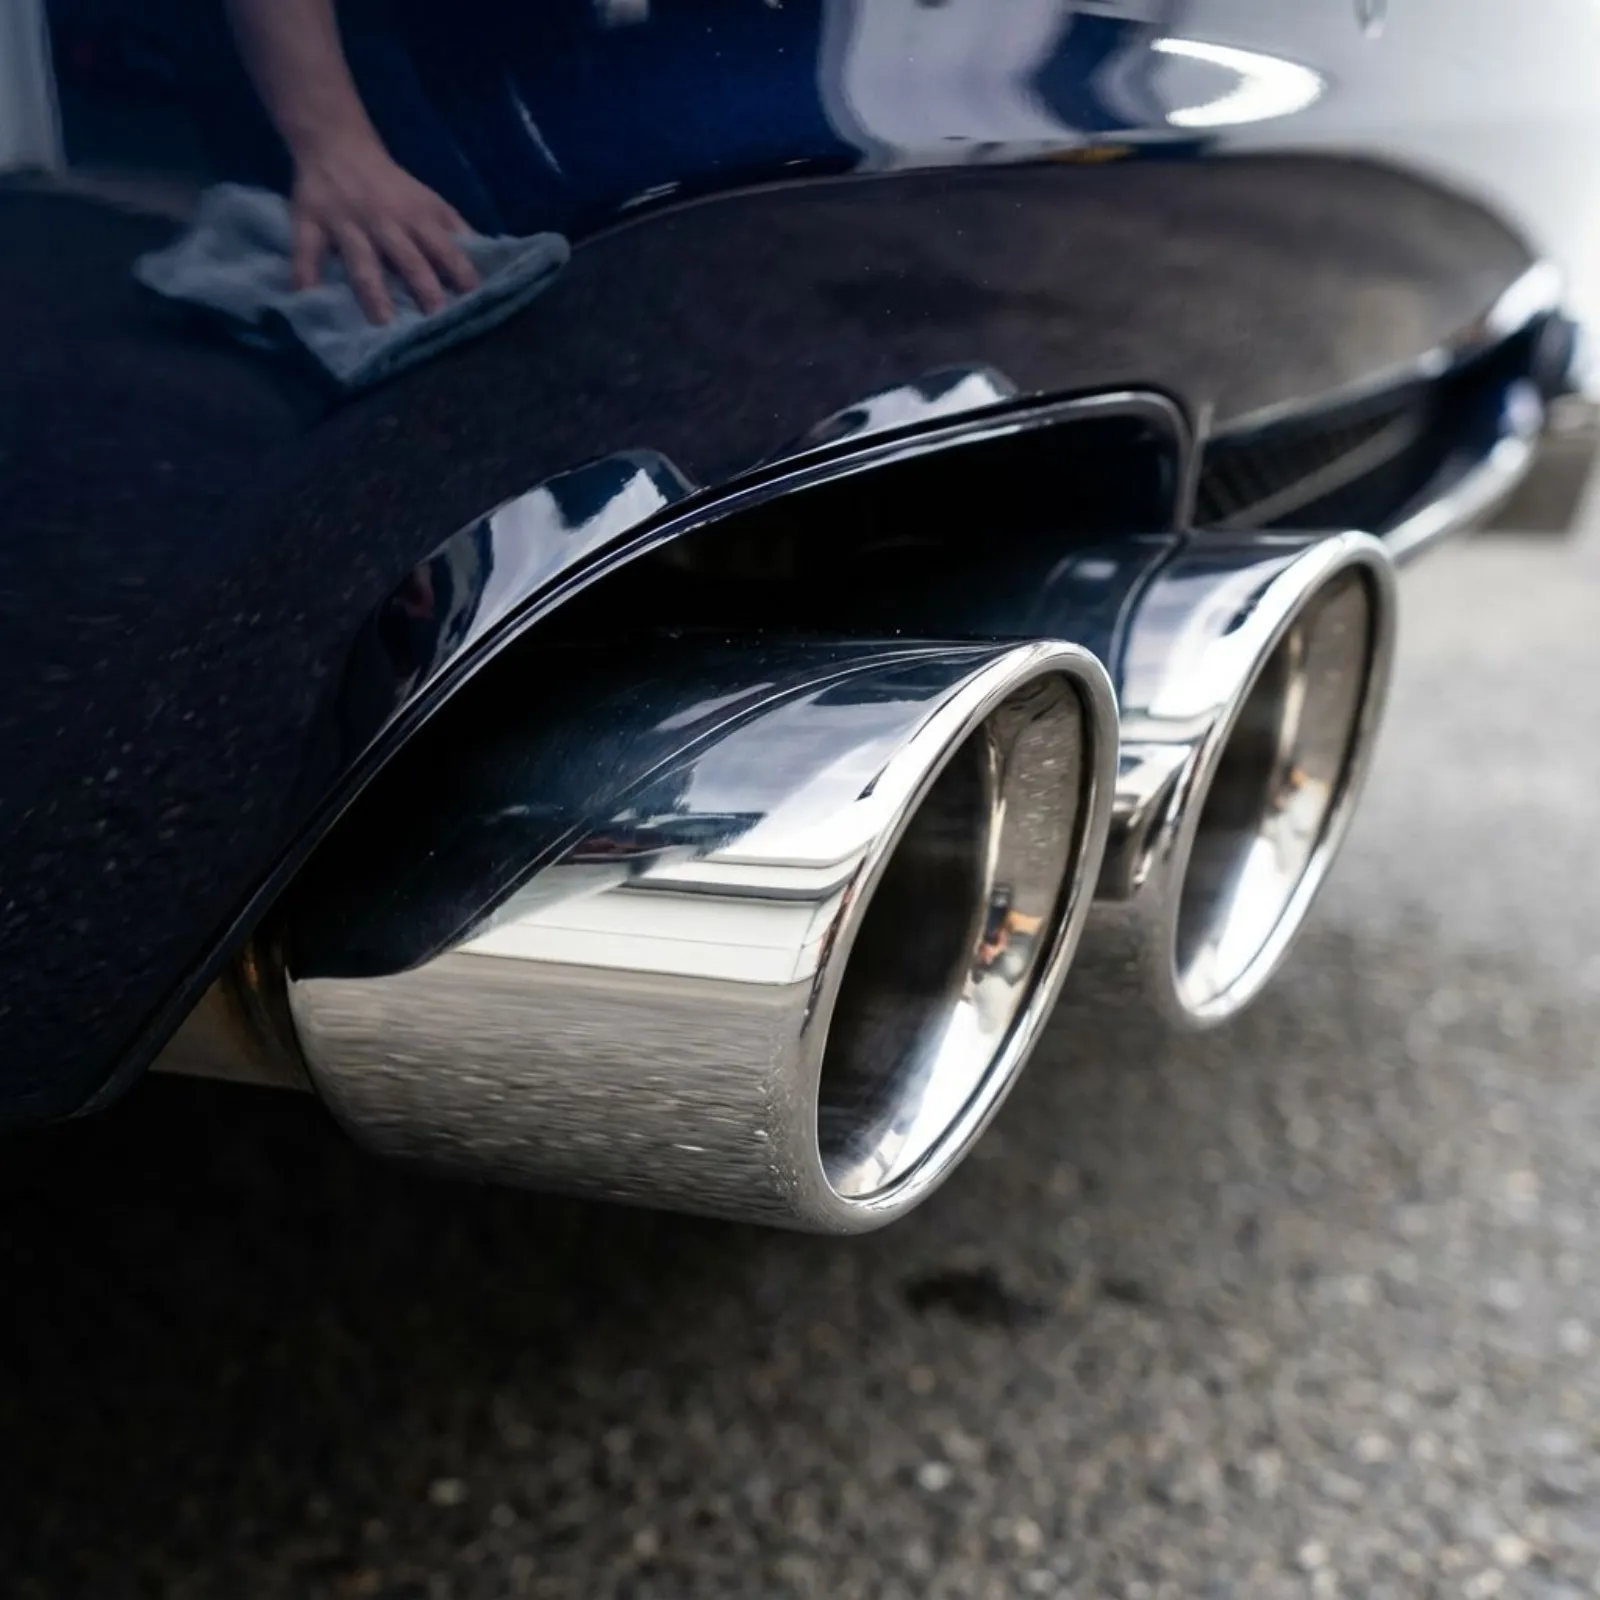
Option 1: Headlight PPF (Paint Protection Film)
What it is: Clear protective film applied directly to headlight lenses.
Thickness: 6-8 mil (significantly thicker than factory coatings)
Protection level: Excellent UV blocking + impact protection from road debris
Lifespan: 5-10 years depending on quality and conditions
Cost: $150-300 per pair installed
Best for:
- New vehicles
- Recently restored headlights
- Vehicles frequently driven on highways (rock chips)
- Long-term ownership plans
Considerations:
- Slight texture may be visible on some films
- Requires professional installation for best results
- Can yellow slightly over time (better films resist longer)
Option 2: Ceramic Coating
What it is: Liquid ceramic applied to headlight surface, curing to a hard protective layer.
Thickness: 2-3 microns (thinner than PPF but harder)
Protection level: Good UV resistance, excellent chemical resistance, hydrophobic
Lifespan: 2-5 years depending on product and conditions
Cost: $75-150 per pair (usually bundled with vehicle ceramic coating packages)
Best for:
- Vehicles already getting ceramic coating
- Owners who want minimal visual change
- Moderate sun exposure environments
- Those willing to reapply every few years
Considerations:
- Thinner protection than PPF
- No impact protection
- Requires reapplication for continued protection
- Best as supplement to PPF or for lower-exposure vehicles
Option 3: UV-Resistant Sealant
What it is: Spray-on sealant specifically designed for polycarbonate surfaces.
Protection level: Basic UV resistance
Lifespan: 6-12 months
Cost: $30-50 DIY, $50-80 professional application
Best for:
- Budget-conscious owners
- Short-term ownership
- Already-degrading headlights (buys time)
- Supplement to other methods
Considerations:
- Requires frequent reapplication
- Lower protection than PPF or ceramic
- May streak if improperly applied
- Not a long-term solution
Comparison Table
| Method | Initial Cost | Years Protected | UV Blocking | Impact Protection | Total 5-Year Cost |
|---|---|---|---|---|---|
| No protection | $0 | 0 | None | None | $200-500 (restoration) |
| UV sealant | $50 | 0.5-1 | Low | None | $300-500 |
| Ceramic coating | $100-150 | 2-5 | Medium | None | $200-450 |
| Headlight PPF | $200-300 | 5-10 | High | Yes | $200-300 |
The math: PPF often costs the same or less over 5 years while providing superior protection.
Already Damaged? Restoration + Protection
If your headlights are already yellow or hazy, the process is:
Step 1: Professional Restoration
We remove the damaged layer through progressive wet sanding and polishing:
- 800-3000 grit wet sanding to remove oxidation
- Machine polishing to restore optical clarity
- Final polish for crystal-clear finish
Time: 30-60 minutes per pair Result: Near-factory clarity
Step 2: Immediate Protection
This is where many restoration jobs fail. Polish your headlights, expose fresh plastic to UV, and oxidation restarts immediately.
After restoration, you have 24-48 hours to apply protection before new oxidation begins.
Options:
- PPF application — best long-term protection
- Ceramic coating — good protection, quicker to apply
- UV sealant — baseline protection, temporary
Without protection, restored headlights will re-oxidize within 12-18 months.
Prevention vs. Replacement: The Numbers
Let's compare approaches for a typical vehicle over 10 years:
Do Nothing (Replace When Failed)
- Year 5-6: Headlights degraded, night visibility compromised
- Year 6-7: Professional restoration: $75-150
- Year 8-9: Re-restoration needed: $75-150
- Year 10: Headlights beyond restoration, replacement: $800-2,000
10-year cost: $950-2,300
Restore + Protect (Current Damage)
- Now: Restoration + PPF: $250-400
- Year 7-8: PPF replacement: $200-300
10-year cost: $450-700
Protect New (No Current Damage)
- Now (new vehicle): PPF installation: $200-300
- Year 7-8: PPF replacement: $200-300
10-year cost: $400-600
The winner: Proactive protection costs less than half of the do-nothing approach while maintaining better visibility throughout.
Signs Your Headlights Need Attention
Don't wait until damage is severe. Watch for:
Early warning signs:
- Slight yellow tint compared to new vehicles
- Light haziness when viewed at an angle
- Minor cloudiness in direct sunlight
Moderate damage:
- Noticeably yellow appearance
- Visible haziness from 10 feet away
- Light output seems reduced
Severe damage:
- Orange/brown discoloration
- Crazing or cracking visible
- Significant light reduction at night
- Other drivers flash brights at you
Rule of thumb: If you can see any discoloration, the factory coating has failed, and protection should be applied after restoration.
DIY vs. Professional Protection
Can you protect headlights yourself?
DIY Considerations
UV sealant: DIY-friendly, spray application
- Pro: Inexpensive, quick
- Con: Requires perfect surface prep, streaking risk
Ceramic coating: DIY-possible with care
- Pro: Many retail ceramic products available
- Con: Incorrect application causes haziness, prep is critical
PPF: Professional recommended
- Pro: Highest protection level
- Con: Complex curves = wrinkles, bubbles, failure
Our recommendation: Unless you're experienced with automotive detailing, professional application ensures correct surface preparation and long-lasting results.
Vehicle-Specific Considerations
Some vehicles are more susceptible:
High-Risk Designs
- Flat-faced headlights — Maximum sun exposure
- West-facing parking — Afternoon sun directly on lenses
- Light-colored vehicles — Less heat absorption doesn't help headlights
- Trucks and SUVs — Headlights closer to road debris
Lower Risk
- Deeply recessed headlights — Some hood/bumper shading
- Garage-parked vehicles — Reduced sun exposure
- Vertical headlight designs — Angled away from direct sun
Even lower-risk vehicles benefit from protection—just slower degradation doesn't mean no degradation.
The Blackout Protection Process
Our headlight protection service includes:
For New/Clear Headlights
- Surface cleaning with non-abrasive cleaner
- IPA wipe to remove any oils or residues
- PPF film cut to exact headlight shape
- Professional installation with proper adhesion
- Edge sealing to prevent lifting
- Final inspection and care instructions
For Damaged Headlights
- Severity assessment
- Progressive wet sanding (800-3000 grit as needed)
- Machine polishing to optical clarity
- IPA wipe for clean bonding surface
- PPF or ceramic application
- 24-hour cure time (weather dependent)
Protect Your Investment Today
Whether your headlights are brand new or already showing wear, protection makes financial sense. The cost of prevention is always less than the cost of replacement.
Explore our services: Detailing Services — professional paint correction and more.
📞 Request a headlight assessment — we'll evaluate your current condition and recommend the right approach.
📍 Visit our Gilroy shop — see the difference protection makes on our display vehicles.
Visit the Experts in Gilroy
Blackout Window Tinting is the Bay Area's premier choice for premium auto protection. Based in Gilroy at 610 Holloway Rd (behind Target), we've served the South County and Silicon Valley area for over 30 years. Whether you're coming from Morgan Hill, Hollister, or anywhere else in the Bay Area, we're your trusted local source for professional window tint, PPF, and ceramic coating.
📞 Questions? Call us at 408-848-8468 or get a free quote online.
Related Articles
- Headlight Restoration vs. Replacement: Making the Right Choice
- Headlight Restoration Services Near Hollister
- Headlight Restoration Services Near Morgan Hill
31+ years
The team at Blackout Window Tinting has been serving the Bay Area since 1993, providing premium window tinting and vehicle protection services.
Window TintingPPFCeramic CoatingVehicle Wraps