Car Audio
Car Subwoofer Installation Guide 2025: Complete How-To
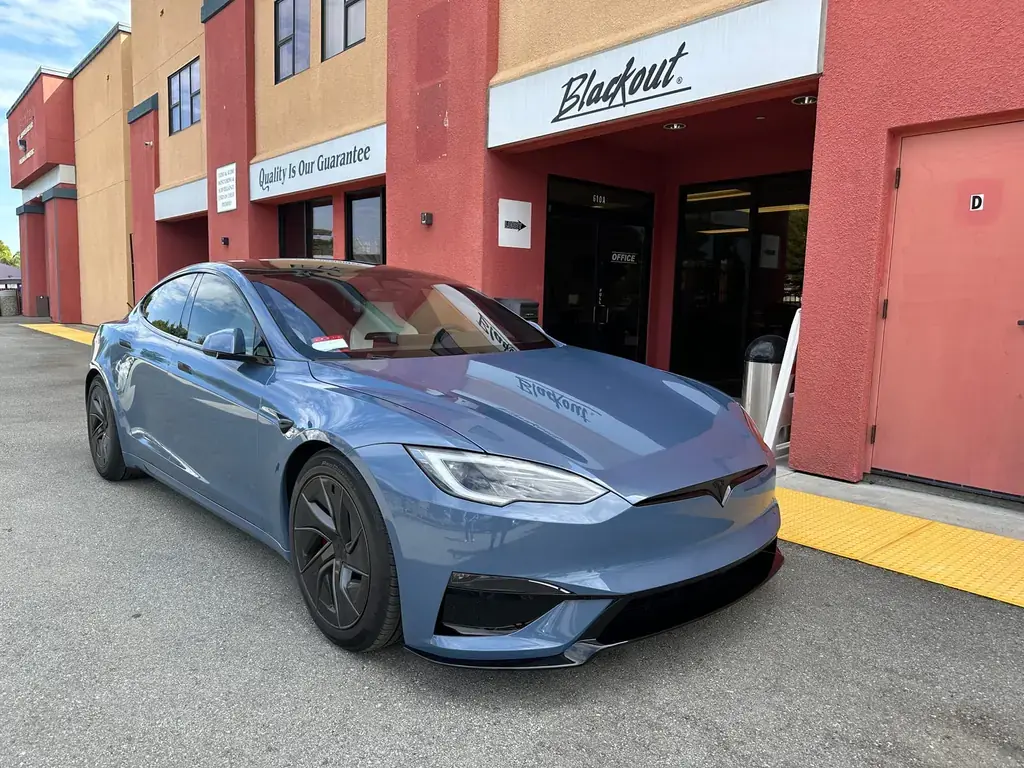
Blackout Window Tinting
8 min read

Complete guide to car subwoofer installation. Learn wiring, placement, amplifier matching, and professional tips for powerful, clean bass in your vehicle.
You want bass. Real bass—the kind that you feel as much as hear.
But there's a right way and a wrong way to install a subwoofer. The wrong way leads to electrical problems, rattling panels, and sound that's more annoying than impressive.
Here's the complete guide to doing it right.
Why Professional Subwoofer Installation Matters
A subwoofer isn't just plug-and-play. Proper installation requires:
- Electrical knowledge — Running power directly from the battery
- Sound tuning — Matching sub impedance to amplifier specs
- Panel reinforcement — Preventing rattles and vibrations
- Proper grounding — Avoiding ground loops and electrical noise
Get it wrong, and you risk blowing fuses, damaging your sub, or worse—electrical fires.
The Components You Need
Essential Equipment
| Component | Purpose | Typical Cost |
|---|---|---|
| Subwoofer | Produces low frequencies | $100–$500+ |
| Amplifier | Powers the subwoofer | $150–$600+ |
| Wiring kit | Power, ground, RCA, remote | $30–$100 |
| Enclosure | Houses the subwoofer | $50–$300+ |
| Sound deadening | Reduces rattles | $50–$150 |
Wiring Kit Contents
A quality wiring kit includes:
- Power wire (4 or 8 gauge, depending on amp)
- Ground wire (same gauge as power)
- RCA cables (signal from head unit)
- Remote turn-on wire (activates amp with ignition)
- Inline fuse (protects your electrical system)
- Wire terminals and connectors
Step-by-Step Installation Process
Step 1: Plan Your Layout
Before touching any tools:
Choose subwoofer location:
- Trunk (most common, best bass response)
- Under seat (compact solution for trucks/SUVs)
- Custom enclosure (for specific vehicles)
Choose amplifier location:
- Under seat (easy access, good ventilation)
- Trunk side wall (out of the way)
- Behind rear seat (compromise option)
Step 2: Disconnect the Battery
Critical safety step: Disconnect the negative battery terminal before any wiring work. You're running power directly from the battery—working with live power can cause shorts, sparks, or electrical fires.
Step 3: Run the Power Wire
This is the most involved step:
- Route through firewall — Find an existing grommet or drill carefully
- Avoid moving parts — Stay away from steering column and pedals
- Run along floor edges — Under door sill trim, secured with clips
- Install inline fuse — Within 18 inches of battery terminal
- Connect to battery — Use proper ring terminals
Wire gauge matters:
| Amplifier Power | Wire Gauge |
|---|---|
| Under 500W | 8 gauge |
| 500–1000W | 4 gauge |
| 1000–2000W | 2 gauge |
| 2000W+ | 0 gauge |
Step 4: Ground the Amplifier
Poor grounding causes:
- Alternator whine
- Engine noise in speakers
- Intermittent power issues
- Potential electrical damage
Ground properly:
- Use same gauge as power wire
- Sand bare metal (remove paint/rust)
- Use ring terminal with star washer
- Keep ground wire under 18 inches
- Bolt directly to chassis metal
Step 5: Run Signal Cables
RCA cables carry audio signal from head unit to amplifier:
- Run opposite side from power wire — Prevents interference
- Use quality cables — Cheap RCAs pick up noise
- Keep away from power sources — Factory wiring, power wire
- Use signal sense if needed — For factory head units without RCA outputs
Step 6: Connect Remote Turn-On
The remote wire tells the amp when to power on:
- From head unit — Blue wire (or blue with white stripe)
- From fuse box — Use a fuse tap on switched accessory circuit
- Test before finalizing — Amp should turn on/off with ignition
Step 7: Wire the Subwoofer
Match impedance to your amplifier's stable load:
Single Subwoofer:
| Sub Impedance | Wiring | Result |
|---|---|---|
| Single 4Ω | Direct | 4Ω load |
| Dual 4Ω (DVC) | Parallel | 2Ω load |
| Dual 4Ω (DVC) | Series | 8Ω load |
| Dual 2Ω (DVC) | Parallel | 1Ω load |
| Dual 2Ω (DVC) | Series | 4Ω load |
Check your amp specs — Running impedance too low will damage the amplifier.
Step 8: Tune the System
With everything connected:
- Set gain — Start low, increase until distortion, back off
- Set crossover — Typically 80Hz for subwoofers
- Adjust phase — 0° or 180° depending on install
- Balance with mains — Sub should blend, not overpower
Common Subwoofer Installation Mistakes
Mistake 1: Undersized Power Wire
Symptoms: Bass drops at high volume, amp goes into protect mode
Fix: Use appropriate gauge for your amplifier power rating.
Mistake 2: Poor Ground Connection
Symptoms: Alternator whine, inconsistent performance
Fix: Sand metal bare, use proper ring terminal, keep wire short.
Mistake 3: RCA Cables Near Power Wire
Symptoms: Buzzing, humming, engine noise
Fix: Route RCA on opposite side of vehicle from power wire.
Mistake 4: No Sound Deadening
Symptoms: Panels rattle, thin/hollow sound
Fix: Apply butyl sound deadening to trunk, doors, rear deck.
Mistake 5: Wrong Enclosure Size
Symptoms: Weak bass, boomy/muddy sound
Fix: Match enclosure volume to subwoofer specifications.
Enclosure Types Explained
Sealed Enclosure
- Tight, accurate bass
- Smaller size
- More forgiving of enclosure volume mistakes
- Best for: Rock, jazz, acoustic music
Ported (Vented) Enclosure
- Louder, deeper bass
- Larger size required
- Critical port tuning
- Best for: Hip-hop, EDM, bass-heavy genres
Bandpass Enclosure
- Maximum output at specific frequency range
- Complex design
- Less musical accuracy
- Best for: SPL competitions
When to Call a Professional
Consider professional installation if:
- Your vehicle has complex electronics (modern luxury cars)
- You want custom enclosure fabrication
- Factory head unit has no RCA outputs
- You're installing multiple subwoofers
- Sound deadening installation is needed
- You want guaranteed, clean results
Subwoofer Installation at Blackout
We've installed thousands of subwoofer systems—from simple trunk setups to competition builds.
Our installation includes:
- Professional wiring with quality components
- Proper grounding and noise prevention
- Amplifier tuning for your specific sub
- Sound deadening where needed
- Clean, hidden wire routing
📍 Visit our Gilroy shop — hear demo systems in person. View our car audio services →